How to Install Acoustic Slat Wall Panels: Complete DIY Guide (2400mm x 600mm)
Transform any room with stunning acoustic slat wall panels. This step-by-step installation guide covers everything you need to know – from tools and preparation to fitting and finishing.
Acoustic slat wall panels have become one of the most sought-after interior design trends in the UK. Combining contemporary aesthetics with genuine sound-absorbing properties, these panels are perfect for living rooms, home offices, bedrooms, and commercial spaces alike.
If you’ve purchased 2400mm x 600mm acoustic slat panels and you’re ready to fit them yourself, you’re in the right place. This comprehensive guide walks you through every step of the installation process, helping you achieve a flawless, professional finish.
Panel Specifications at a Glance
Before we dive in, here’s what you’re working with:
| Specification | Details |
|---|---|
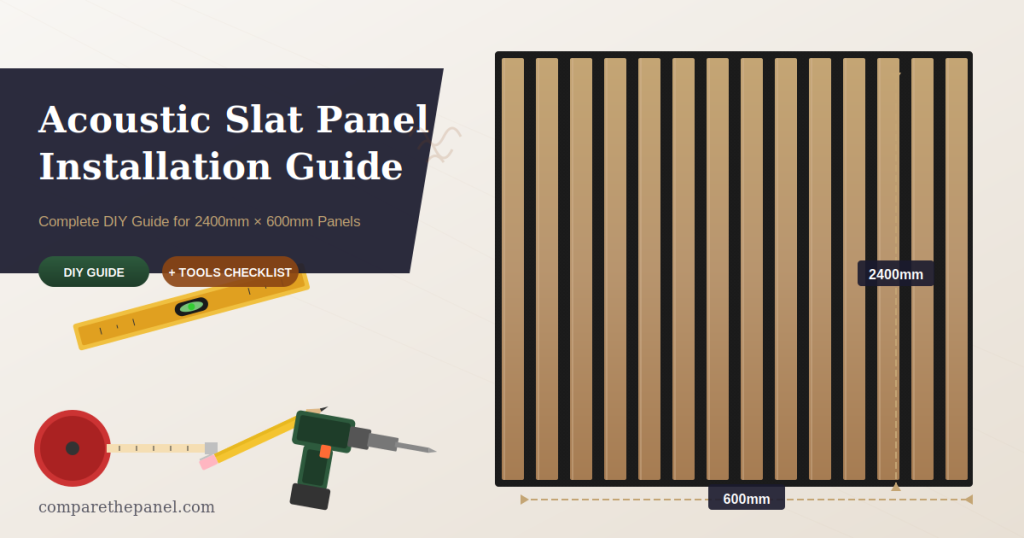
| Panel Dimensions | 2400mm (H) x 600mm (W) |
| Coverage Per Panel | 1.44 square metres |
| Typical Thickness | 21mm – 24mm (including backing) |
| Weight Per Panel | Approximately 8–12kg |
| Acoustic Rating | NRC 0.5 – 0.85 (varies by product) |
Tools You’ll Need
Having the right tools to hand makes all the difference. Here’s your complete checklist:
Essential Tools
- Spirit Level (1200mm or longer) – Essential for ensuring panels are perfectly horizontal and vertical
- Tape Measure (5m minimum) – For accurate wall measurements and panel positioning
- Pencil – For marking cutting lines and fixing positions
- Cordless Drill/Driver – For pre-drilling and securing panels if using mechanical fixings
- Jigsaw or Circular Saw – For cutting panels to size around obstacles
- Fine-Toothed Saw Blade (60+ teeth) – Achieves clean cuts without splintering the slats
- Caulking Gun – For applying panel adhesive evenly
- Stud Finder – To locate wall studs for secure fixing
- Hammer – For tapping panels into position if required
- Safety Equipment – Safety glasses, dust mask, and work gloves
Recommended Additional Tools
- Laser Level – For perfect alignment across large wall areas
- Mitre Saw – Ideal for clean, precise 45-degree corner cuts
- Panel Lifter or Wedges – Helps position panels accurately whilst adhesive sets
- Workbench or Sawhorses – Provides a stable cutting surface
- Vacuum Cleaner – For cleaning dust from cuts and work area
Materials Required
- Acoustic Slat Wall Panels (2400mm x 600mm) – Calculate quantity: Wall Area ÷ 1.44 = Number of panels (add 10% for wastage)
- High-Strength Panel Adhesive – Use a solvent-free grab adhesive rated for heavy panels (Stixall, No More Nails HD, or similar)
- Wall Plugs and Screws (optional) – 6mm plugs with 50mm screws for additional security
- Timber Battens (optional) – 25mm x 50mm treated softwood for uneven walls
- Corner Trims/Edge Profiles – Matching colour profiles for neat edges
- Colour-Matched Filler – For filling any visible screw holes
- Masking Tape – To protect panel surfaces during cutting
Step 1: Wall Preparation
Proper wall preparation is crucial for a successful installation. Rushing this stage is the number one cause of panels failing to adhere correctly.
Assess Your Wall Surface
- Check wall flatness – Hold a long straight edge or spirit level against the wall. Gaps larger than 3mm indicate unevenness that may require battening.
- Identify wall construction – Determine whether you have plasterboard (stud wall), solid brick/block, or dot-and-dab plasterboard. This affects your fixing method.
- Check for moisture – Ensure the wall is completely dry. Damp walls prevent adhesive from bonding and could damage panels over time.
- Remove wallpaper – Strip any wallpaper and scrape off loose paint. Adhesive bonds to the wall surface, not the wallpaper.
- Clean the surface – Remove dust, grease, and debris with a damp cloth. Allow to dry completely.
- Mark stud positions – Use a stud finder to locate and mark wall studs. These provide the strongest fixing points.
Pro Tip: For dot-and-dab plasterboard walls, we strongly recommend installing timber battens. Adhesive cannot bond reliably to the air gaps behind the plasterboard.
Step 2: Planning Your Layout
Careful planning ensures a symmetrical, professional finish and minimises waste.
- Measure your wall accurately – Record the total width and height. For a standard 2400mm ceiling height, panels typically run floor to ceiling.
- Calculate panel quantity – Divide wall width by 600mm to determine how many full panels you need. Consider whether cut pieces at edges should be equal for symmetry.
- Plan for obstacles – Mark positions of plug sockets, light switches, radiator pipes, and any fixtures requiring cutouts.
- Decide on orientation – Panels can be installed vertically (most common) or horizontally for different aesthetic effects.
- Mark reference lines – Use a laser level or spirit level to draw perfectly vertical guide lines on the wall.
Pro Tip: Start from the centre of the wall and work outwards for the most symmetrical appearance, especially on feature walls.
Step 3: Panel Acclimatisation
This step is non-negotiable. Acoustic slat panels contain natural materials that respond to temperature and humidity. Skipping acclimatisation causes warping, gaps, and adhesive failure.
- Unpack panels carefully – Remove all packaging and lay panels flat in the room where they’ll be installed.
- Allow 48–72 hours minimum – Panels need at least two to three days to adjust to room conditions.
- Maintain normal room temperature – Keep the room at 18–22°C with normal humidity levels.
- Inspect each panel – Check for transit damage and ensure slats are properly aligned. Report any issues to your supplier before installation.
⚠️ Important: Installing panels directly from cold storage or a delivery van will cause expansion/contraction issues leading to visible gaps or buckling.
Step 4: Installation Methods
Choose the method that suits your wall type and requirements.
Method A: Adhesive Only
Best for: Flat, solid walls in good condition
This is the cleanest method with no visible fixings.
- Apply adhesive to the panel back in a continuous zigzag pattern, ensuring coverage within 50mm of all edges and across the centre.
- Position the panel against the wall, aligning with your reference marks. Use panel lifters or wedges to create a 5–10mm gap at floor level.
- Press firmly across the entire surface, paying attention to edges and corners.
- Use masking tape or temporary supports to hold the panel while adhesive cures (24–48 hours).
- Continue with subsequent panels, butting edges together tightly.
Method B: Adhesive Plus Mechanical Fixings
Best for: Most installations, especially larger areas
Combining adhesive with screws provides maximum security.
- Apply adhesive as described above.
- Position panel and press firmly against wall.
- Pre-drill through the panel into the wall at fixing points (into studs or using wall plugs).
- Drive screws through the grooves between slats where they’ll be least visible.
- Countersink screws slightly and fill with colour-matched filler.
Method C: Batten Framework
Best for: Uneven walls, dot-and-dab construction, or enhanced soundproofing
- Fix horizontal battens at top, bottom, and centre of the installation area (600mm spacing).
- Use packing pieces to create a perfectly flat, level surface.
- Consider adding acoustic insulation between battens for enhanced soundproofing.
- Fix panels to battens using adhesive and/or screws through the groove lines.
Step 5: Cutting Acoustic Slat Panels
Cutting panels requires care to prevent damage to the decorative surface.
Straight Cuts
- Measure and mark the cutting line on the backing material.
- Apply masking tape along the cut line on the slat face to prevent splintering.
- Cut with the decorative face upward when using a circular saw, or face down with a jigsaw.
- Use a fine-toothed blade (minimum 60 teeth) and cut slowly.
- Sand cut edges lightly with fine-grit sandpaper.
Cutting Around Sockets and Switches
- Measure the exact socket position from your reference edge and transfer to the panel.
- Mark the cutout area, adding 2–3mm clearance all around.
- Drill pilot holes at each corner of the cutout.
- Use a jigsaw to carefully cut between the holes.
- Test fit before final installation.
Pro Tip: For a neater finish around sockets, use deeper back boxes and socket spacers so the faceplate sits flush against the panel surface.
Step 6: Finishing Touches
- Fill visible screw holes – Use colour-matched wood filler, allow to dry, sand flush.
- Install edge trims – Fit corner profiles where panels meet adjacent surfaces.
- Apply sealant if required – Use colour-matched sealant where panels meet ceiling, floor, or walls.
- Remove protective film – Carefully peel away any covering from the panel face.
- Clean the installation – Wipe down with a dry microfibre cloth.
- Reinstall fixtures – Fit socket faceplates and light switches.
Safety Guidelines
- Wear safety glasses when cutting to protect against sawdust and debris
- Use a dust mask especially when cutting MDF backing materials
- Ensure adequate ventilation when using adhesives
- Use proper lifting technique – panels weighing 8–12kg can cause strain
- Turn off electricity at the consumer unit before cutting around sockets
- Work with a helper – Large 2400mm panels are easier to handle with two people
Care and Maintenance
Acoustic slat panels require minimal upkeep:
- Dust regularly – Use a soft microfibre cloth or feather duster weekly
- Vacuum the felt backing – Use a soft brush attachment monthly
- Avoid water and cleaning products – Never use wet cloths or chemicals
- Protect from direct sunlight – Prolonged UV exposure can cause fading
- Address damage promptly – Minor scratches can be treated with touch-up products
Benefits of Acoustic Slat Wall Panels
Understanding what these panels offer helps you appreciate why proper installation matters:
- Superior Sound Absorption – Felt backing reduces echo and reverberation by up to 85%
- Contemporary Aesthetics – Natural wood slats create warmth and visual interest
- Improved Speech Clarity – Perfect for home offices and meeting rooms
- Easy DIY Installation – Achievable professional results for confident DIYers
- Increased Property Value – Quality wall treatments appeal to buyers
- Thermal Insulation – Adds an extra insulation layer
Troubleshooting Common Issues
Panels Not Adhering Properly
Ensure the wall is clean, dry, and dust-free. Use sufficient adhesive in a continuous zigzag pattern. Add temporary supports while curing.
Visible Gaps Between Panels
Usually indicates insufficient acclimatisation. Gaps may close as humidity stabilises. Persistent gaps can be filled with colour-matched sealant.
Splintering When Cutting
Always use masking tape on cut lines and a fine-toothed blade. Cut slowly and support the panel fully. Score the line with a sharp knife before sawing.
Panels Bowing or Warping
Caused by uneven adhesive or an uneven wall surface. Use the batten method for imperfect walls. Apply adhesive evenly across the entire panel back.
Final Thoughts
Installing acoustic slat wall panels transforms any room into a stylish, acoustically optimised space. By following this guide – from preparation and acclimatisation through to installation and finishing – you can achieve results that rival professional installations.
Remember: preparation is everything. Taking time to assess your wall, gather the right tools, and allow panels to acclimatise will pay dividends in the final result.
Whether you’re creating a feature wall in your living room, improving acoustics in a home office, or fitting out a commercial space, acoustic slat panels deliver exceptional performance and visual appeal.
Last updated: December 2025
Always wear appreciate safety equipment fine MDF dust can be nasty!